If you’ve been using Maply for the past few weeks, you might have noticed something new: our ‘Area’ feature on the top of your maps
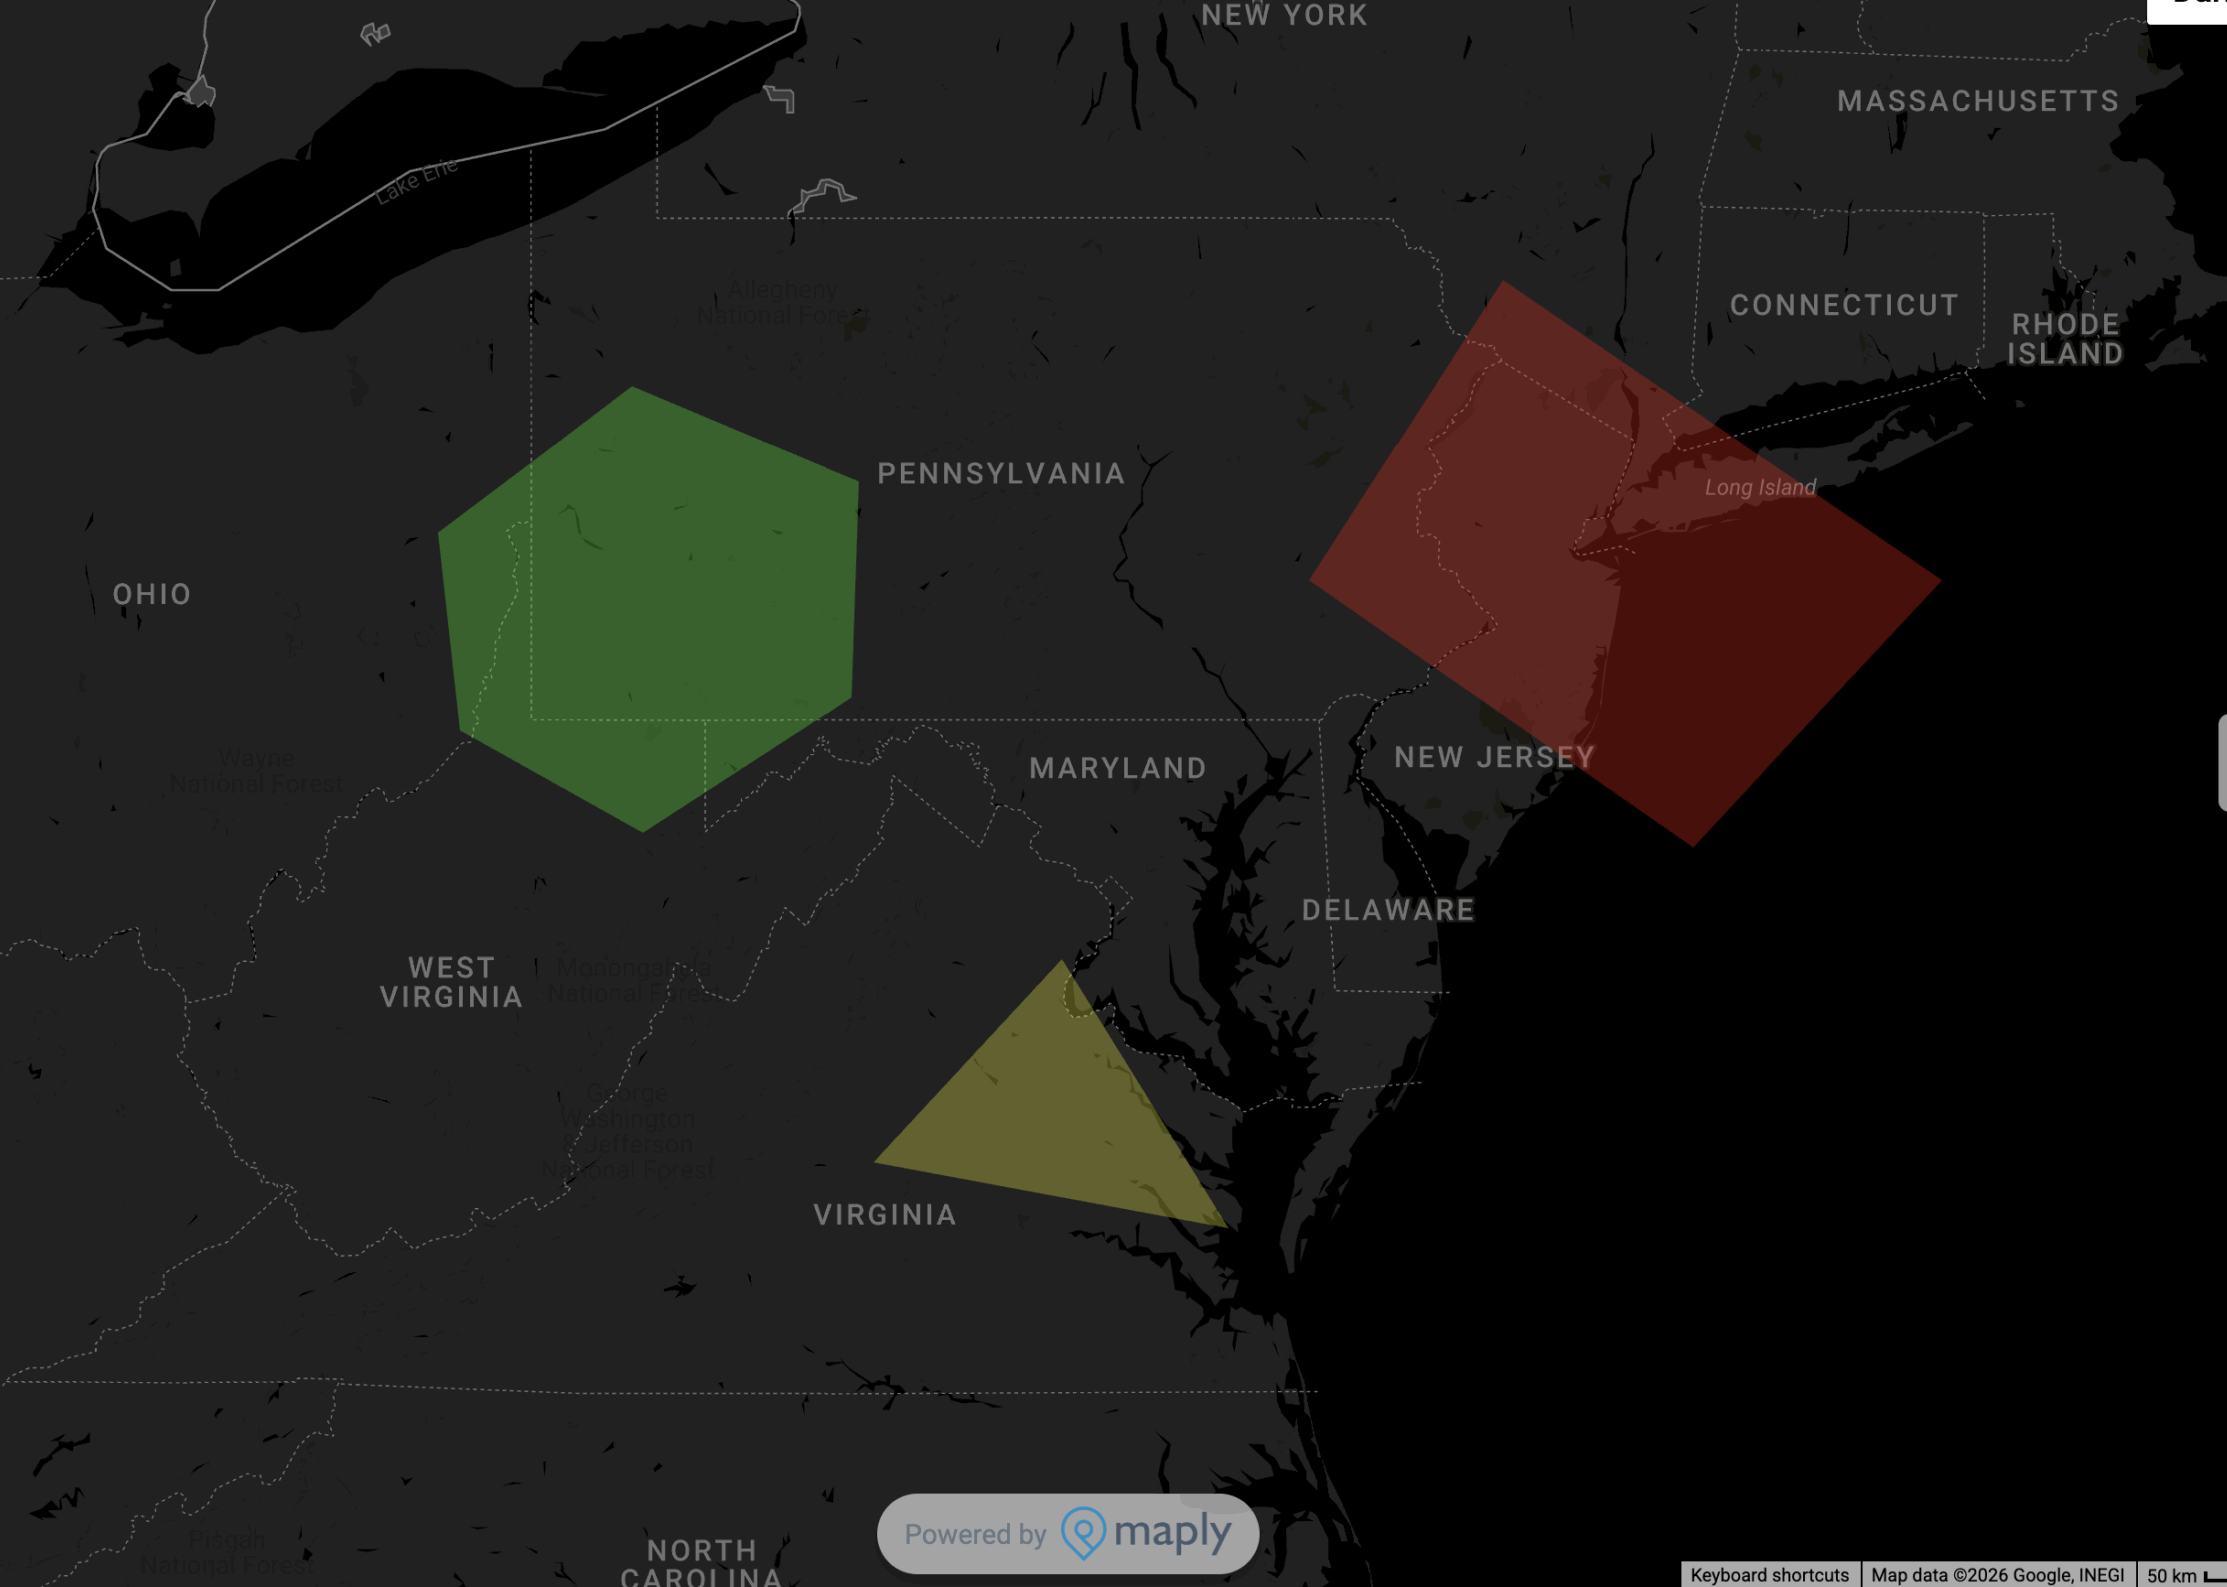
With the new ‘Area’, you can highlight a custom region on your map and take action on the locations within it. Allowing you to move your data to other layers or export them directly in an intuitive way.
This feature lets you zoom in if your data is large and messy: focus on specific neighbourhoods or zones; separate locations into different categories or export a subset of your data.
How to Add Area
To do so,
- Create a Maply account or sign in to an existing one
- Create a new map
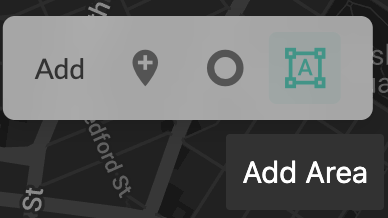
- Upload your locations or open an existing map. Click the “Add Area” Icon on the top of your screen
- then draw your area by clicking points on the map. Click the first point again to finish. Press Esc to cancel.
Customise your area
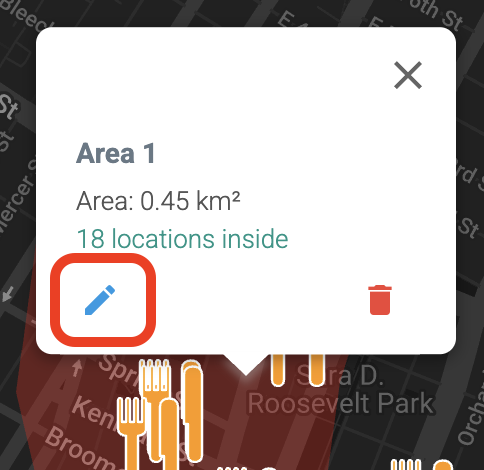
After creating your area, you can customise it by clicking anywhere within the area and selecting the ‘edit’ icon. This allows you to name the area or change the colour.
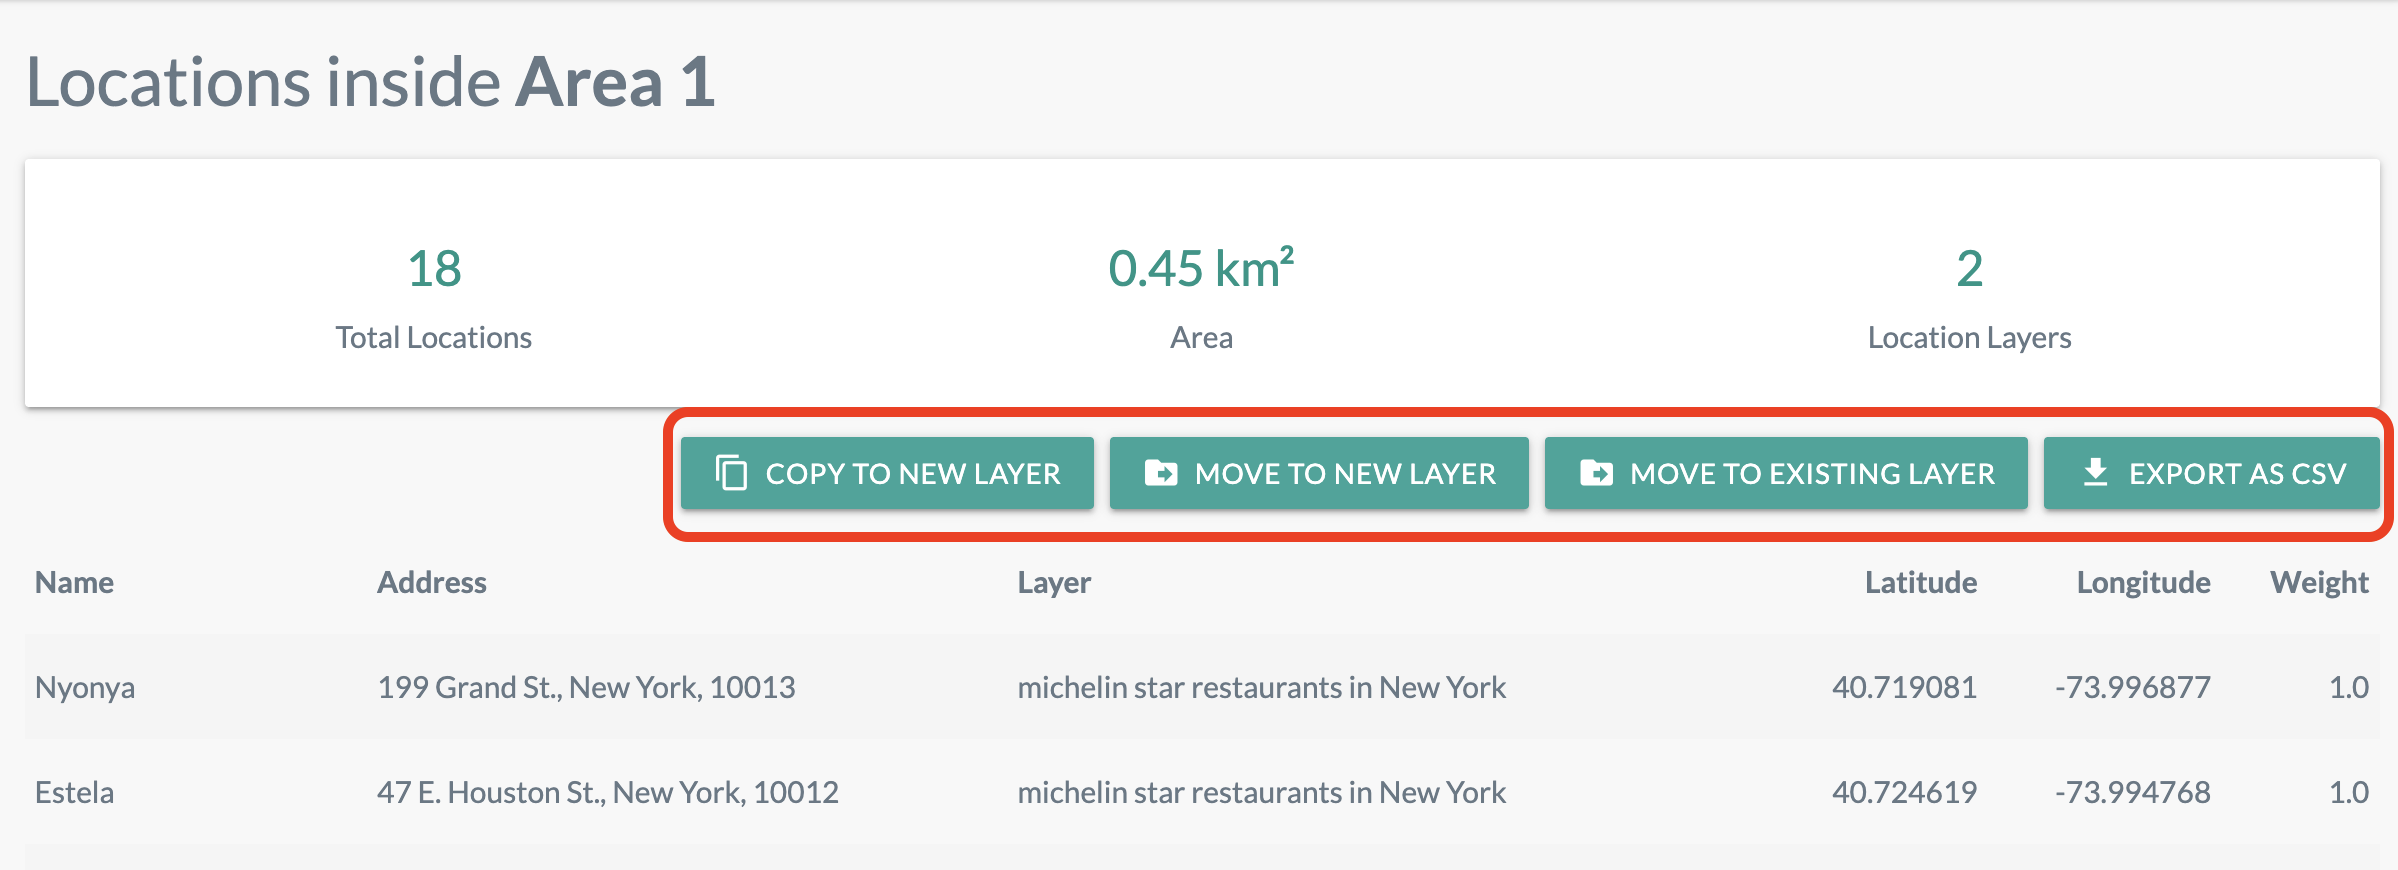
View Locations in This Area
Click anywhere within the area, and select the “__ locations inside”
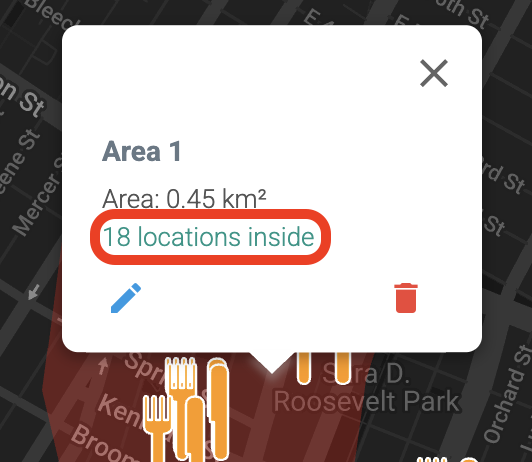
Use this to more easily move or copy the locations within the area
Tada, now its your turn to try it out yourself 😉